Caulk Pedestal Sink To Wall

Whole Home News Home Repair Powder Room Remodel Pedestal Sink

This Sleek And Attractive Square Basin Pedestal Sink With Rectangular Column Is The Perfect Way To Update Your Cont Pedestal Sink Pedestal Sinks Sink

How To Install A Wall Mounted Pedestal Sink Pedestal Sink Sink Latest Bathroom Tiles

Installing A Bathroom Sink Wall Hung Sink Bathroom Sink Design Bathroom Sink Decor Bathroom Sink
Pedestal Sink Installation Kak Ustanovit Rakovinu Youtube

Memoirs Powder Room Pedestal Sink And Commode Pedestal Sink Bathroom Powder Room Ideas Half Baths Powder Room Sink

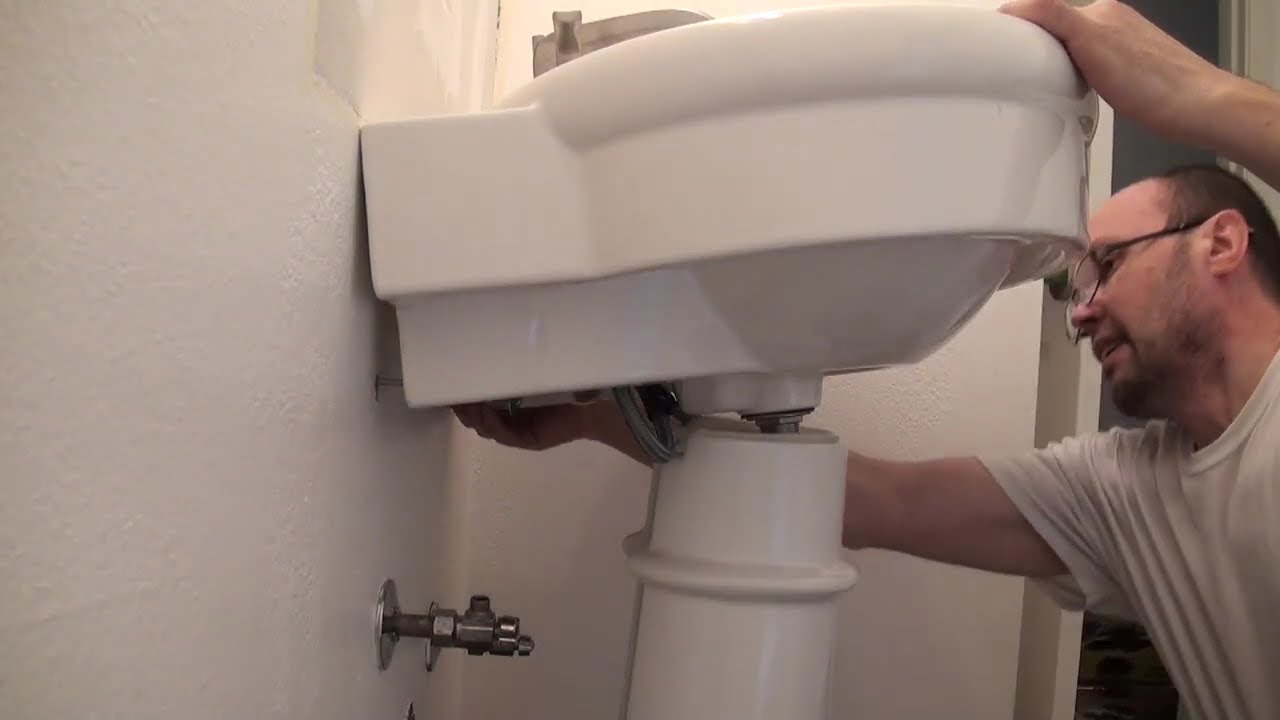
There isn t a whole lot holding a pedestal sink to a wall.
Caulk pedestal sink to wall.

Bovina Porcelain Wall Mount Semi Pedestal Sink Bathroom Bathroom Bathroomsinks Bovina Porcel Bathroom Sink Wall Mounted Bathroom Sinks Wall Mount Sinks
Aquatica Formosa Rectangular Freestanding Washbasin Wash Basin Sink Sinks For Sale

Vintage Sink Pedestal Green Cast Iron By Vintagechicfurniture 395 00 Vintage Sink Green Sink Antique Bathroom Sink

America N Standard Boulevard Ped Lav Combo 4 Ctr White 0641 400 020 195 Pedestal Sink Sink Wall Mounted Bathroom Sinks

Subway Tile Pedestal Sink Bathroom Google Search Pedestal Sink Bathroom Pedestal Sink Purple Bathroom Decor

Photo 12 Of 22 In A 19th Century Schoolhouse In Brooklyn Becomes A Traditional House Bathroom Styling Industrial Style Bathroom

Oval Freestanding Black Or White Sink 25 X17 Dw 152 White Sink Sink Pedestal Sink

Modern White Ceramic Wall Mounted Or Vessel Sink Wall Mounted Bathroom Sinks Modern Bathroom Sink Bathroom Sink

Beach Cottage Bathroom Wainscoting Pedestal Sink Wall Sconce Lighting With Shades White Medicin Tuscan Bathroom Decor Tuscan Bathroom Wainscoting Bathroom

Pinoir Vitreous China 22 Semi Pedestal Bathroom Sink With Overflow Sink Wall Mounted Bathroom Sinks Faucet

Cadet Vitreous China U Shaped Pedestal Bathroom Sink With Overflow Pedestal Sink Pedestal Sinks Sink Design

40 Ceramic 24 Wall Mount Bathroom Sink With Overflow Wall Mounted Bathroom Sinks Cheap Bathroom Vanities Sink

5 Most Common Caulking Mistakes In 2020 Bidet Tub And Shower Faucets Bathroom

Antique Vintage American Standard Pedestal Sink Ivory Blackford 1930 S Americanstandard Pedestal Sink Sink Antiques

Pin On Tudor Turret

How To Install A Pedestal Sink W Detailed Pictures Bestlife52

Kohler Archer 20 7 16 In Vitreous China Pedestal Sink Basin In White With Overflow Drain K 2358 8 0 Pedestal Sink Sink Kohler Archer

Kohler K 2032 In 2020 Rectangular Sink Bathroom Sink Wall Mounted Bathroom Sinks
Https Encrypted Tbn0 Gstatic Com Images Q Tbn 3aand9gcqjyqrfgutfj Tbd6nc6bljiafnyny7rcq0b0 Awlw Usqp Cau

Modern Home Decor Ideas Traditional House Loft Conversion Bathroom Styling

Good Looking Pedestal Sink With Legs Bathroom Victorian Blue Painted Ceiling Housetrends Magazine Designer Dark Caulking Bathroom Remodeling Remodel M With Images Retro Bathrooms Bathrooms Remodel Victorian Bathroom

Designtile The Wall Above Your Bathroom Furniture With Graphic Ceramic Squares Glue The New Backspla In 2020 Backsplash Bathroom Sink Diy Backsplash Vanity Backsplash

Pin By Milton Hotard On Our 1 2 Bath Renovation Bath Renovation Pedestal Sink Bathroom Renovation

Kohler Veer K5247 Widespread Bathroom Pedestal Sink Basin Pedestal Sink Sink Small Bathroom
Source : pinterest.com
